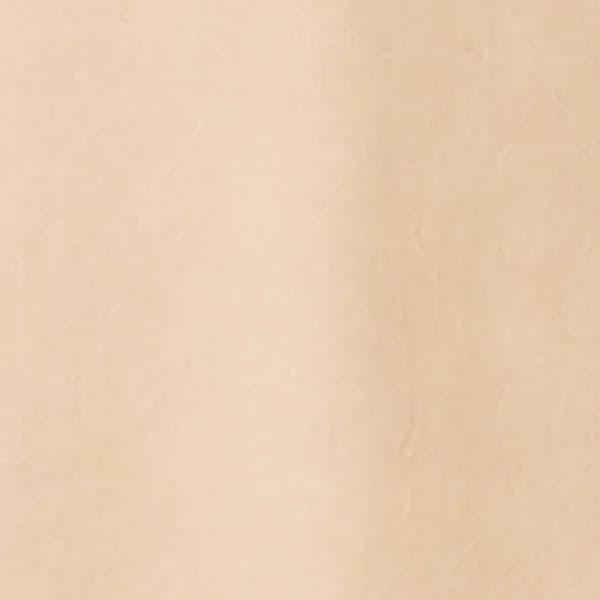
One upload
Beige handloom cotton
Cut as a kurta · three models
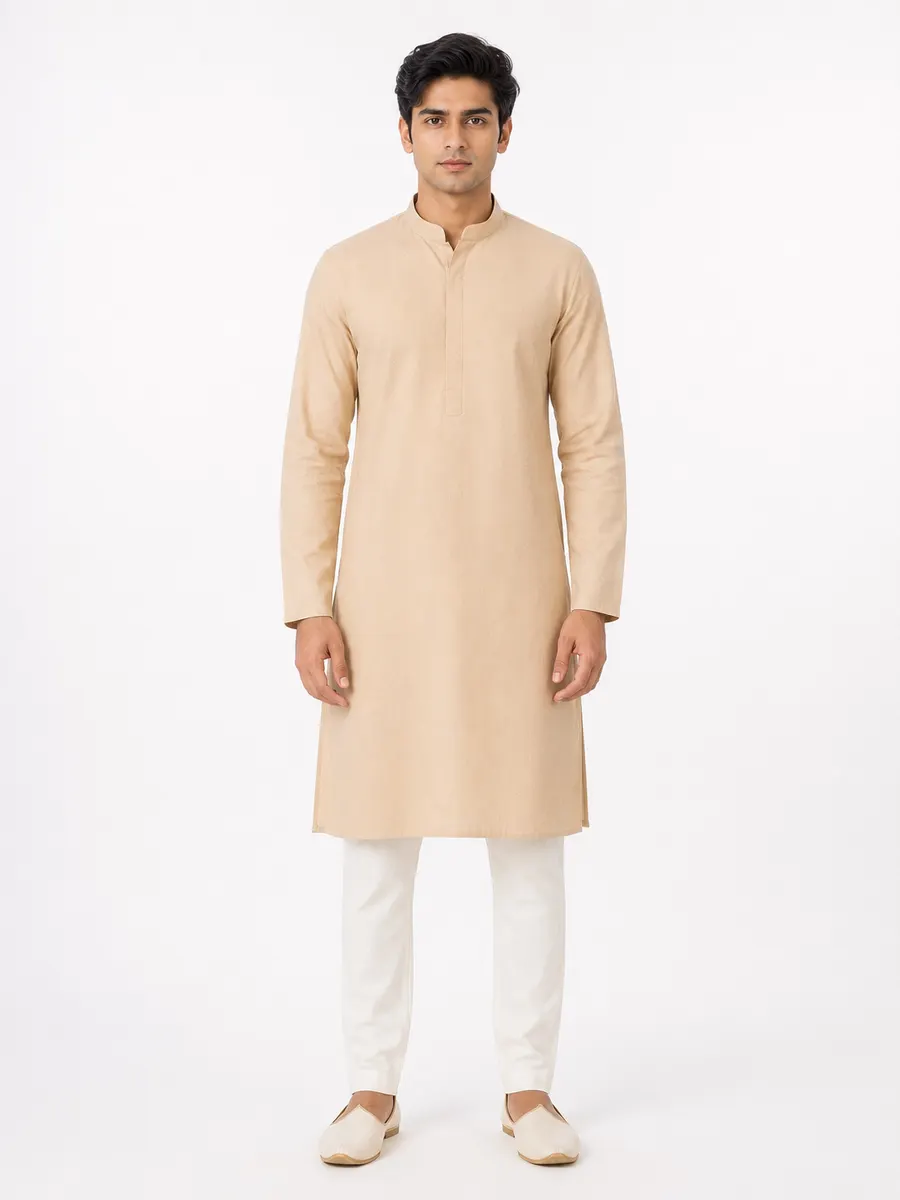
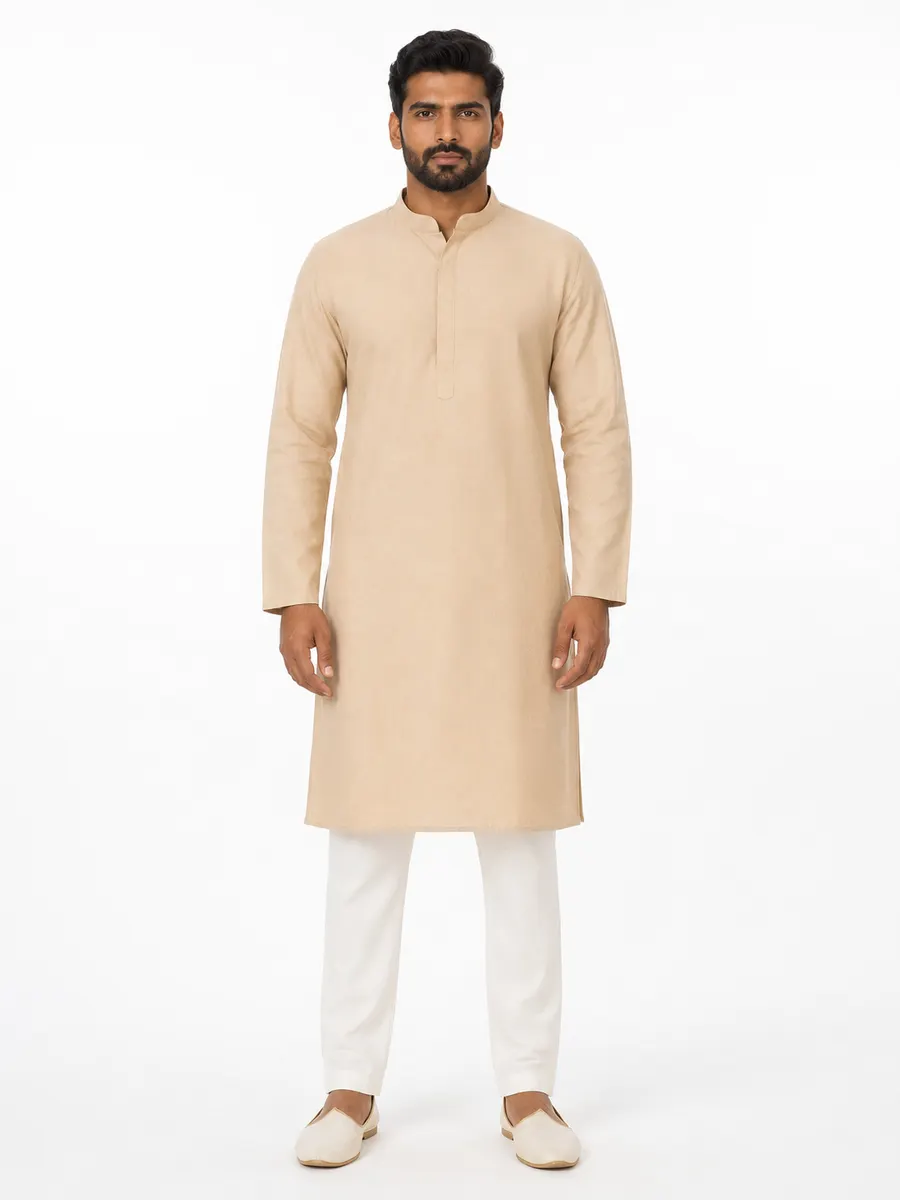
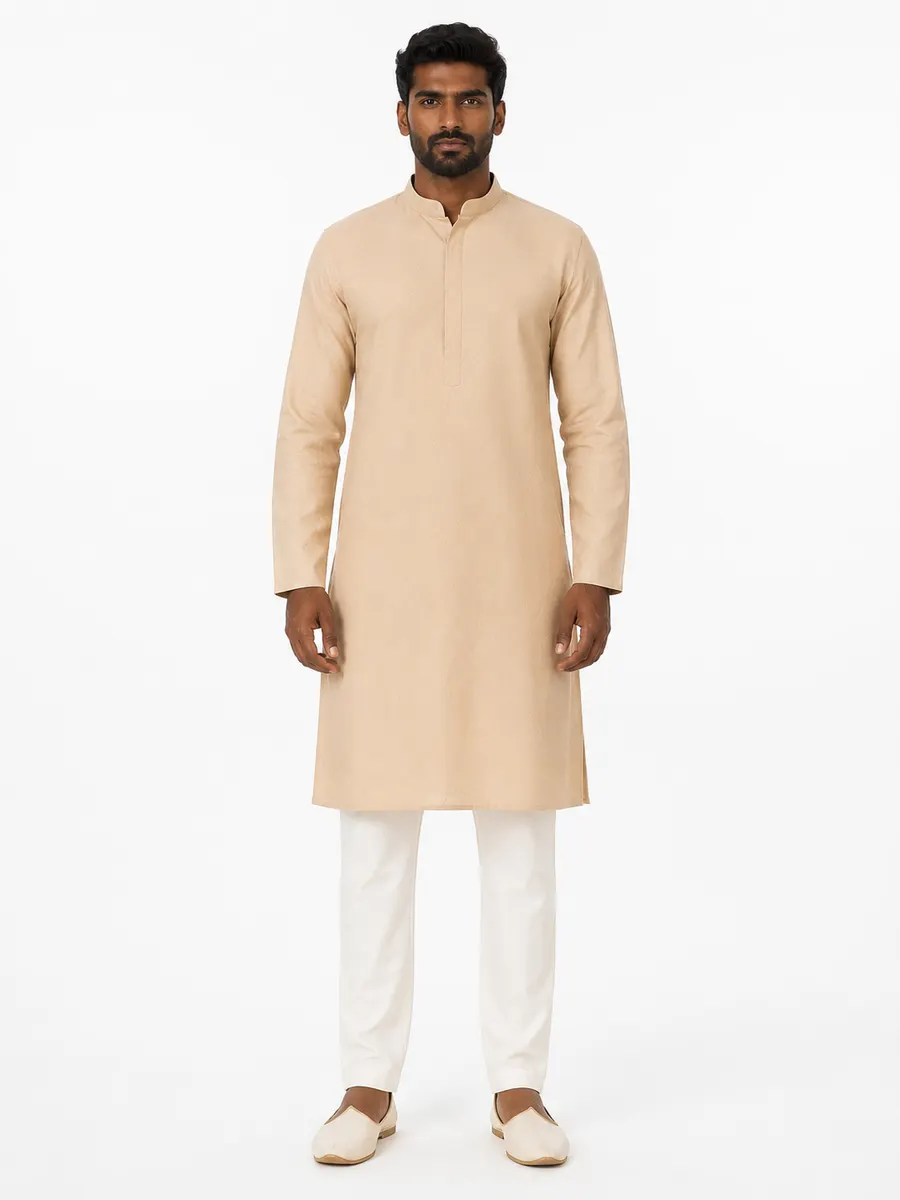
Example outputs from one fabric upload. All figures are AI-generated, not photographs of real people.
What is fabric-to-model generation?
Fabric-to-model generation produces a photograph of a garment on a human figure using only an image of the material it would be made from. Instead of re-photographing an existing product, the system constructs the garment: it decides how the cloth would be cut, where the seams and the border would fall, and how the finished piece would hang on a body.
This matters because a large part of the Indian garment trade sells cloth, not finished pieces — saree lengths, unstitched suit material, printed panels, running fabric by the metre. The buyer has to imagine the finished garment, and imagination is a poor sales tool. Fabric-to-model closes that gap without a sample run.
The distinction
Re-photographing a garment is not the same as constructing one
Both produce a model photo. Only one of them works when what you have is a roll of cloth.
| Aspect | Garment swap / virtual try-on | Fabric-to-model construction |
|---|---|---|
| What you upload | A photo of the finished, stitched garment — usually a flat-lay or a mannequin shot | A photo of the cloth, a printed panel, or the finished garment if you have one |
| What the system decides | How to place an existing garment shape on a new body | How a pattern maker would cut this textile into this garment, then how it hangs |
| Where the border ends up | Wherever it already was on the flat-lay | On the placket, cuff, hem or pallu — the placements that garment actually uses |
| Works before you cut a sample | No | Yes |
| Handles unstitched saree and suit lengths | Poorly — there's no garment shape to swap | Yes — drape and multi-piece profiles |
How it decides
Four rules that run on every generation
These are not adjectives added to a prompt. They're explicit instructions per garment type, which is why the same cloth produces a different — and correct — result depending on what you asked for.
Construction
Border placement
Motif scale
Drape by weight
Workflow
Four steps, start to finish
- 1
Photograph the cloth
Lay a metre of the fabric flat on a plain surface and shoot it straight on in neutral daylight, with any border visible along one edge.
- 2
Upload and check quality
Upload the photo. It is scored for sharpness on arrival and flagged if it's too soft to generate from reliably.
- 3
Choose the garment and the casting
Pick the garment type, model type, body type, pose and background. Each garment carries its own construction profile.
- 4
Generate and review
Run the job. Images arrive as they complete rather than all at once, each one generated at 2K.
What the quality check is for
A soft or badly lit reference produces a soft, inaccurate garment — and you’d only find out after spending the credit. Uploads are scored for sharpness and flagged before generation so you can reshoot instead. Practical advice on getting a usable reference first time is in the guide to photographing fabric for AI.
Inputs
What you can upload, and what it costs you
- Accepted references
- A flat length of fabric, a printed or woven panel, a folded piece with the pattern readable, a flat-lay of the stitched garment, or a hanger shot. JPEG, PNG or WebP up to 10 MB.
- Garment types
- Kurta, saree, kurti, lehenga, salwar suit, shirt and trousers — each with its own construction profile. See the garment index.
- Model types
- Male, female, boy and girl, across slim, regular and plus body types. Child sizing is built into every garment profile rather than being a separate attire type.
- Cost
- One credit per generated photo, whatever the garment, and credits never expire. Every photo is generated at 2K. Current packs are on the pricing page.
- Turnaround
- No fixed turnaround time is quoted here, since it depends on load. Results stream in as they finish rather than arriving all at once, so you can judge the first frame before the batch is done.
Honest limits
What this doesn't do
Worth knowing before you build a workflow around it.
- It is not a dye-lot proof. Colour is reproduced faithfully from your reference, but screen colour and dyed cloth are different things. Use generated colourways to test demand and design direction, not to approve a shade.
- It cannot recover detail your photo didn’t capture. Blown-out zari, motion blur, or a shot taken under yellow tube light will carry into the result. Reshooting is cheaper than regenerating.
- The models are generated figures. They are not photographs of real people, and they should never be described or captioned as if they were.
- Very unusual constructions need description. The seven profiles cover mainstream Indian and Western garments. An unconventional cut can be requested through the per-garment specification field, but results are less predictable than the built-in profiles.
Questions
Fabric-to-model questions
Do I need a stitched sample before I can generate photos?
How accurate is the fabric reproduction?
What sizes and body types can the garment be cut for?
Can I use the images commercially?
How long does one image take?
Upload one metre of cloth. See it worn.
Two free credits on signup, no card. Enough to run a real design through the whole flow.
Try fabric to model2 free credits on signup. No card needed.
Keep reading
Shooting fabric for AI
How to photograph cloth so the generated garment matches it.
OpenAI saree photoshoot
Draped, not stitched — pleats, pallu and border in the right places.
OpenAI fashion models
Pick a model, body type, pose and background — or upload your own.
OpenFor manufacturers & wholesalers
Design numbers, MOQ, rate cards and buyer lookbooks at catalog scale.
Open